
So, you’ve decided to pick up a paintbrush and transform your space? Congratulations! You’re officially one step away from unleashing your own swoon worthy IG space. DIY painting can be fun, satisfying, yes, those cheesy photo’s of women smiling in overalls with a paint brush and some well placed paint marks can be achieved, stick around and we’ll show you how. PS) we are not affiliated with any aesthetic overall brands, sorry, we’ll try harder. We promise, painting your space is a whole lot easier than you think – if you know a few tricks. Lucky for you, we’ve got the best tips to make sure your paint job looks pro-level, minus the stress, and who know’s maybe we’re starting a new hobby together?
Step 1: Pick Your Colour – Like a Pro
Choosing the perfect colour is half the battle. Do you want a calming oasis, a bold statement, or something that won’t make you regret your life choices in six months? The trick is to test swatches on your wall and check them in different lighting throughout the day. What looks dreamy in the morning light might turn into a questionable shade of mystery green at night, we know we’ve said this a few times, but they say repetition is the best way to learn.
Before you go wild and turn your walls into a patchwork quilt of tester pots, start smart with our brand-new colour visualiser, Kleur View. This bad boy lets you live test endless colour combos without making your walls look like an art project gone wrong.
Once you’ve found the one (or maybe two) that sings to your soul and your décor, download the colour palette and bring that along with you when you pop into a store. When you’re in store, check out our Colour Cards in real life, and grab a tester pot. Trust us, this is the way to narrow down your options before things get out of hand. Too many testers = instant overwhelm, and before your walls start looking like a patchwork quilt. Too many testers can be overwhelming, so for internal walls, try to limit yourself to three colours max, your future self will thank you.
Once you’ve got your shortlist, grab some sample pots and paint large test patches on your wall. Yes, your living room might look like a game of checkers for a day or two (so maybe hold off on inviting your mates over), but trust us, this step is as essential as using Cook & Spray before baking. When your colour tests are up, check them at different times of the day to see how natural and artificial light affects the shade.
Taking this extra step means fewer surprises, fewer repaints, and way more confidence in your final colour choice. Your walls, and your wallet, will thank you!
Step 2: Gather Your Supplies – No One Likes a Mid-Paint Crisis
Listen, on a personal note (because yes this is written by a person, not AI) the fastest way to ruin my partner’s day is to start a project, and not have all the supplies. You best believe the project AND good mood is gone, before we’ve even gotten home from the shop. So take it from me, before you start, make sure you have everything you need. There’s nothing worse than realising halfway through that you’re missing a key item, forcing you to make an emergency store run with paint-covered hands.

Here’s what you’ll need:
We can practically hear you thinking, “Cool, cool… but why all these different paint finishes? Why can’t paint just be paint?” We get it! But trust us, choosing the right finish makes all the difference. So, let’s break down our top three finishes and leave you feeling like a painting pro.
Interior Paints
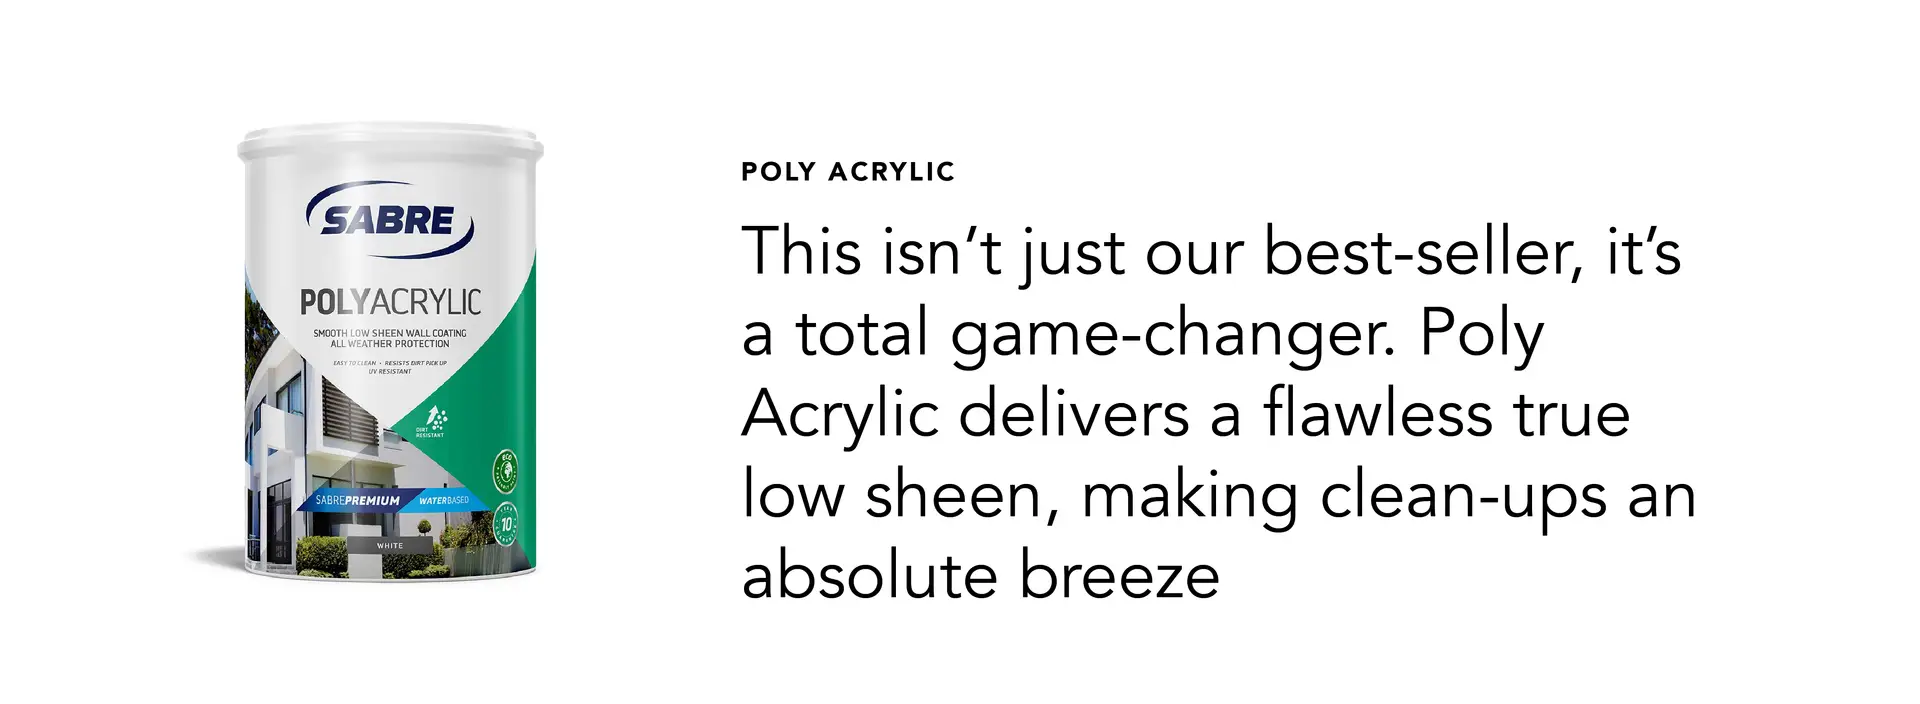
Poly Acrylic
This isn’t just our best-seller, it’s a total game-changer. Poly Acrylic delivers a flawless true low sheen, making clean-ups an absolute breeze. Whether it’s grubby little hands or an overenthusiastic pet, this finish can handle it all. Designed for both indoor and outdoor use, Poly is as versatile as our rainbow nation. Harsh weather? No problem. High-traffic areas? Bring it on.
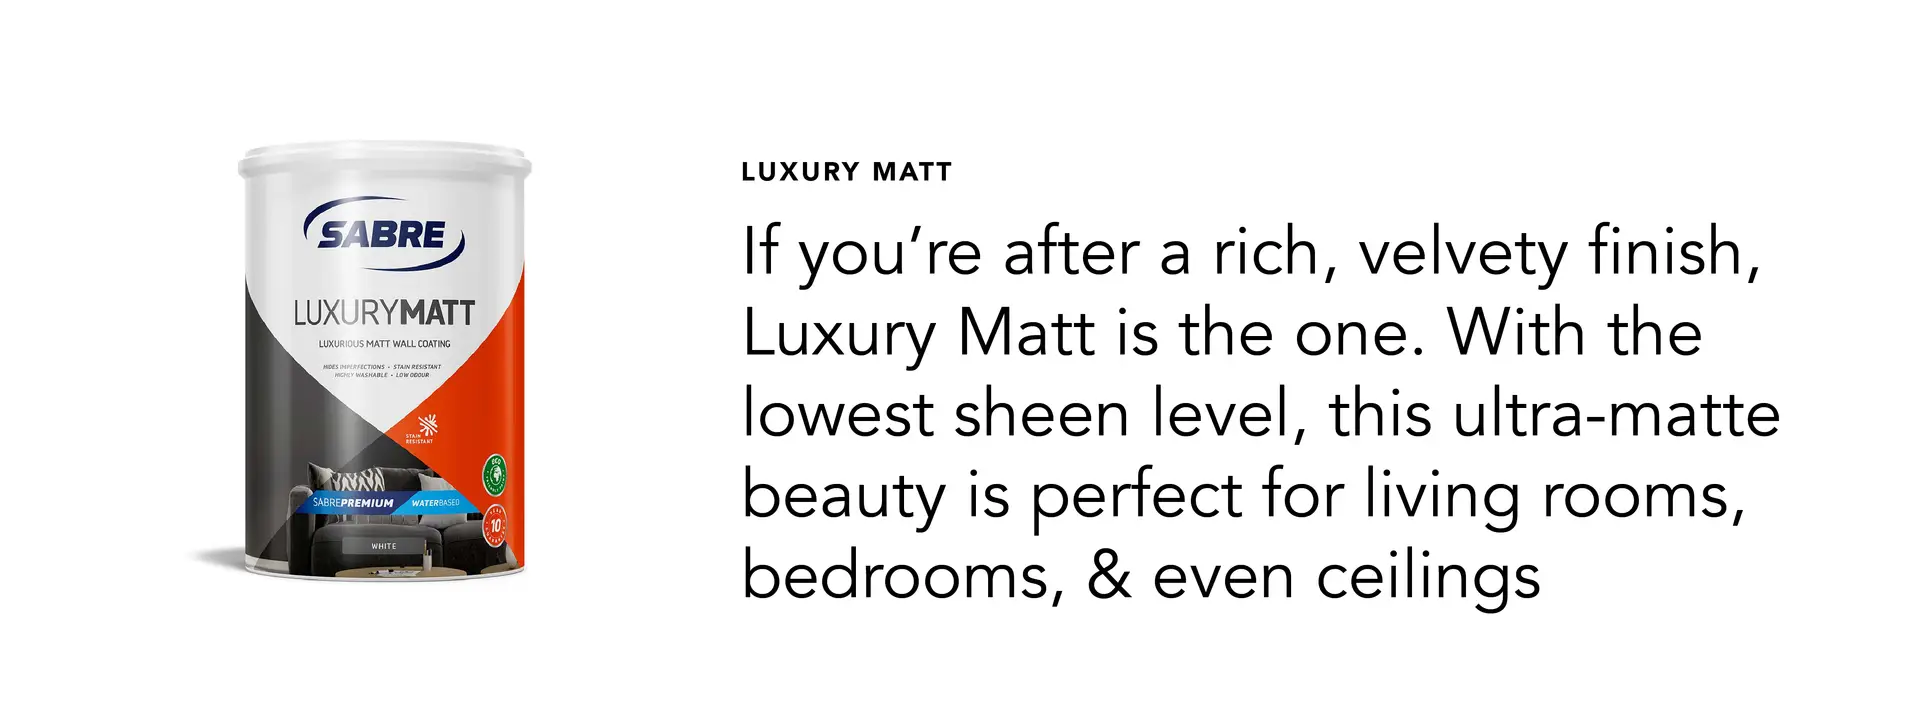
Luxury Matt
If you’re after a rich, velvety finish, Luxury Matt is the one. With the lowest sheen level in our Premium Range, this ultra-matte beauty is perfect for living rooms, bedrooms, and even ceilings. It absorbs light rather than reflecting it, meaning no harsh glares, just a beautifully soft, refined look. Dark shades, in particular, thrive in Luxury Matt, as the slight chalky texture enhances their depth. However, a word to the wise: Matt paints tend to mark more easily, so save this one for low-traffic households where there is less need for daily cleaning.
Exterior Paints
Poly Acrylic – Still Stealing the Show
Yes, it’s that good. With the durability to brave the elements and a finish that stays looking fresh, Poly Acrylic isn’t just for interiors. It’s got your exterior covered too!
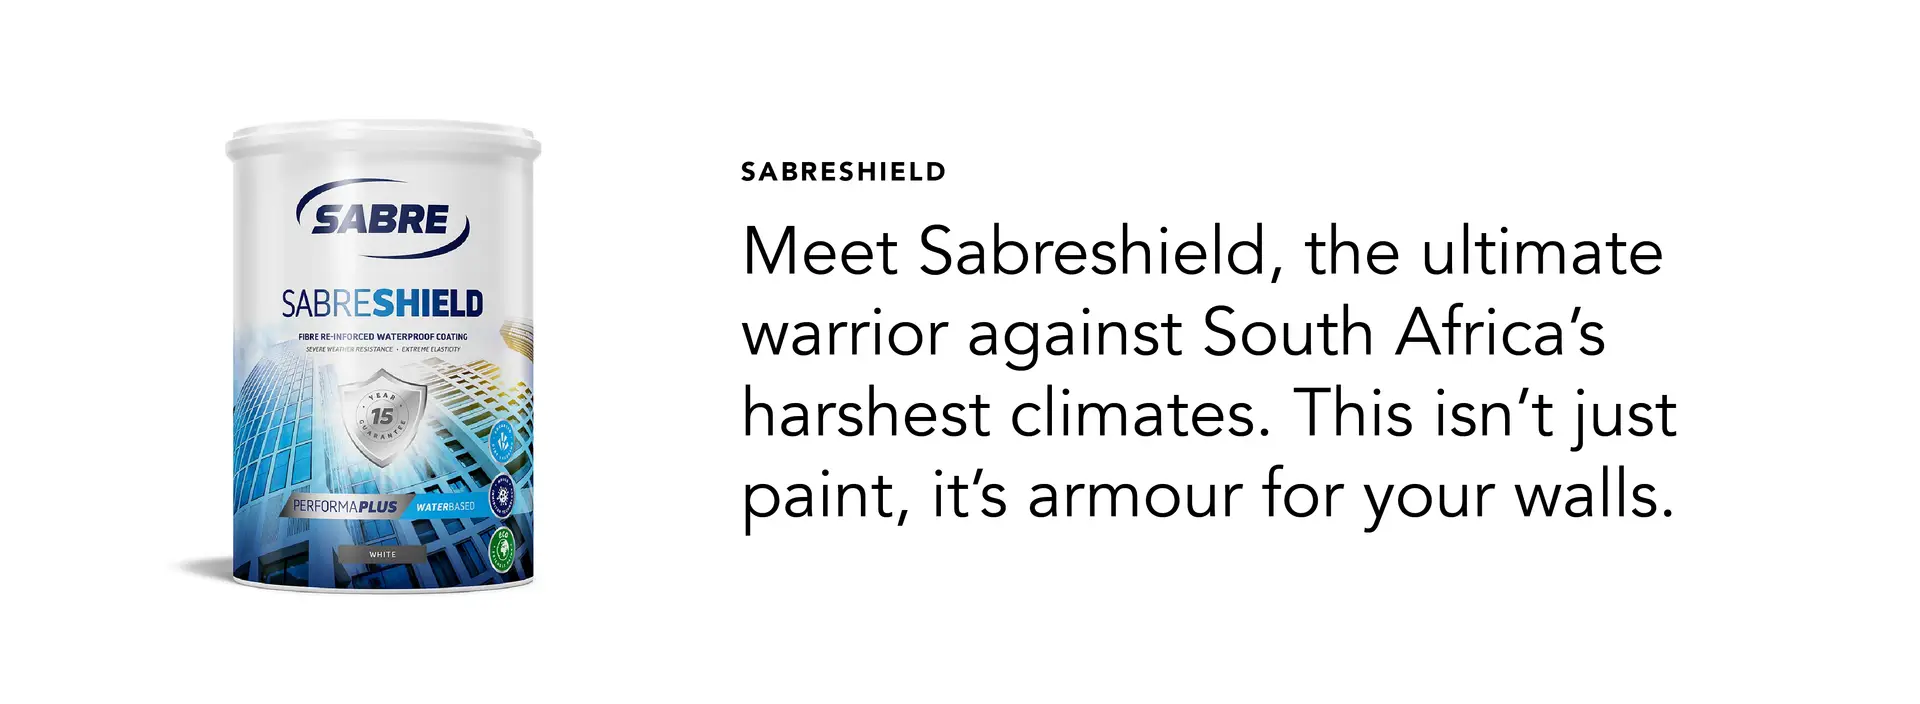
Sabreshield
Meet Sabreshield, the ultimate warrior against South Africa’s harshest climates. This isn’t just paint, it’s armour for your walls. Built tough and incredibly flexible (seriously, your yoga instructor would be jealous), Sabreshield is fortified for extreme durability under our Performa Plus range. And why does flexibility matter? Because it prevents hairline cracks from forming, which in turn stops moisture from sneaking into the substrate and causing issues. Uneven surfaces? No problem. Apply it with a textured roller for a sleek, stippled finish that hides imperfections while adding a touch of style.
Side note: All three of these paints are zero VOC, meaning they’re free from harmful chemicals and super environmentally friendly. So, not only are they great for your home, but they’re also kind to the planet!
Pro Tip:
The secret to a pro-level finish? Quality tools. Don’t skimp on good brushes and rollers—it makes all the difference!
Step 3: Prep Like a Boss
Prepping is like stretching before a workout, you might be tempted to skip it, but you’ll regret it later. Taking the time to get your walls ready will ensure a smoother application and a longer-lasting finish.
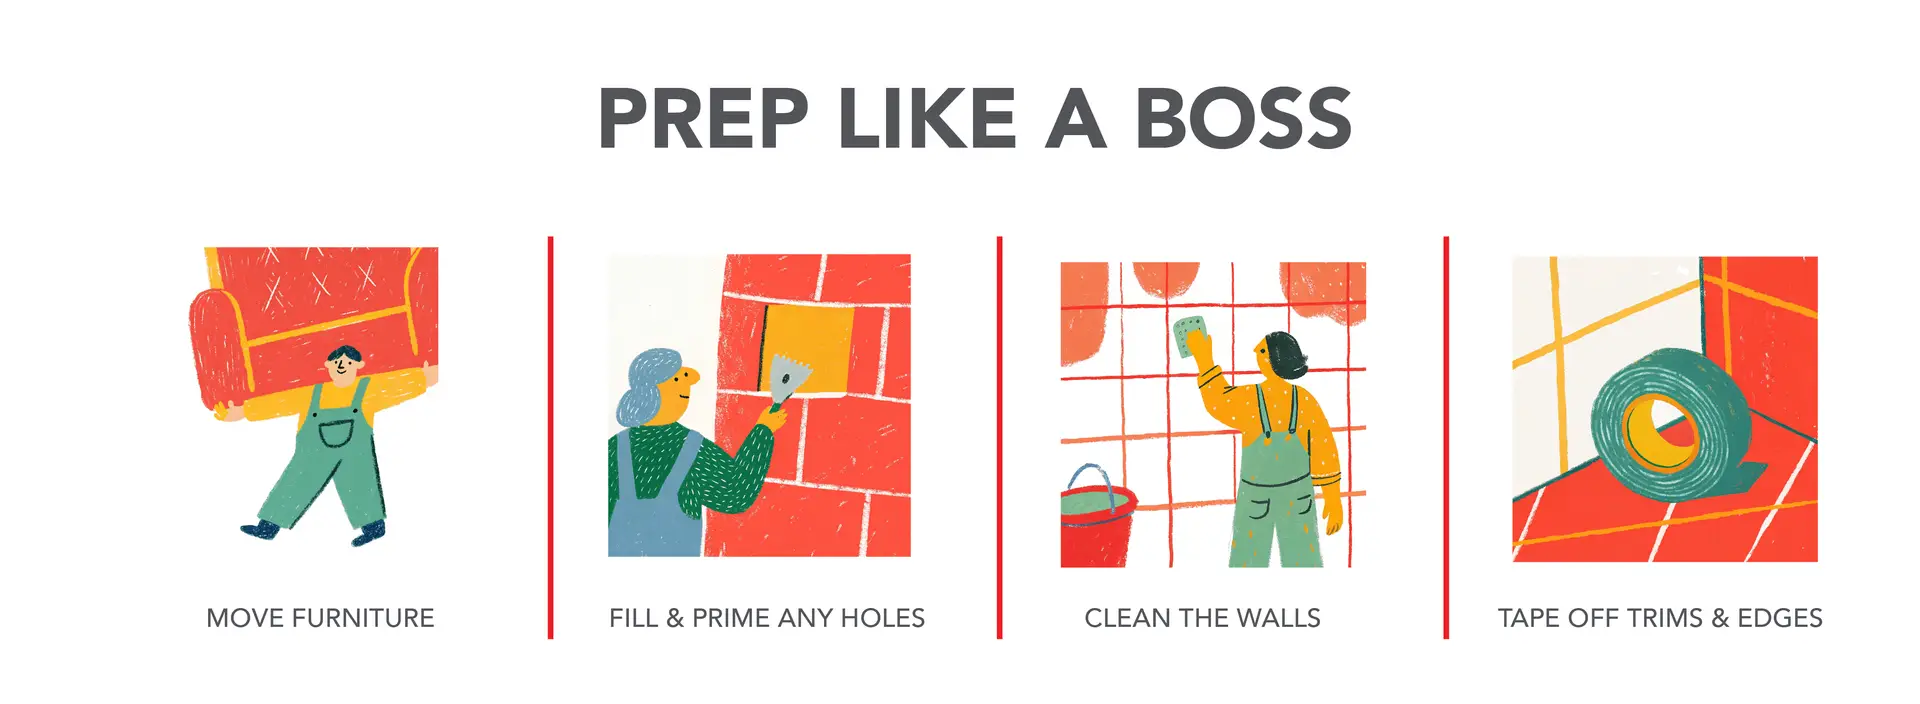
Start by moving furniture out of the way or covering it up with protective sheets. Fill any holes or cracks with filler and sand them down for an even surface. Dust and clean the walls thoroughly because paint doesn’t stick well to dirt or grease. Finally, use painter’s tape to mask off edges, light switches, and trims for that professional-looking finish.
A little prep work now saves a lot of heartache (and touch-ups) later.
So:
Pro Tip:
A little prep work saves a lot of heartache (and touch-ups) later.
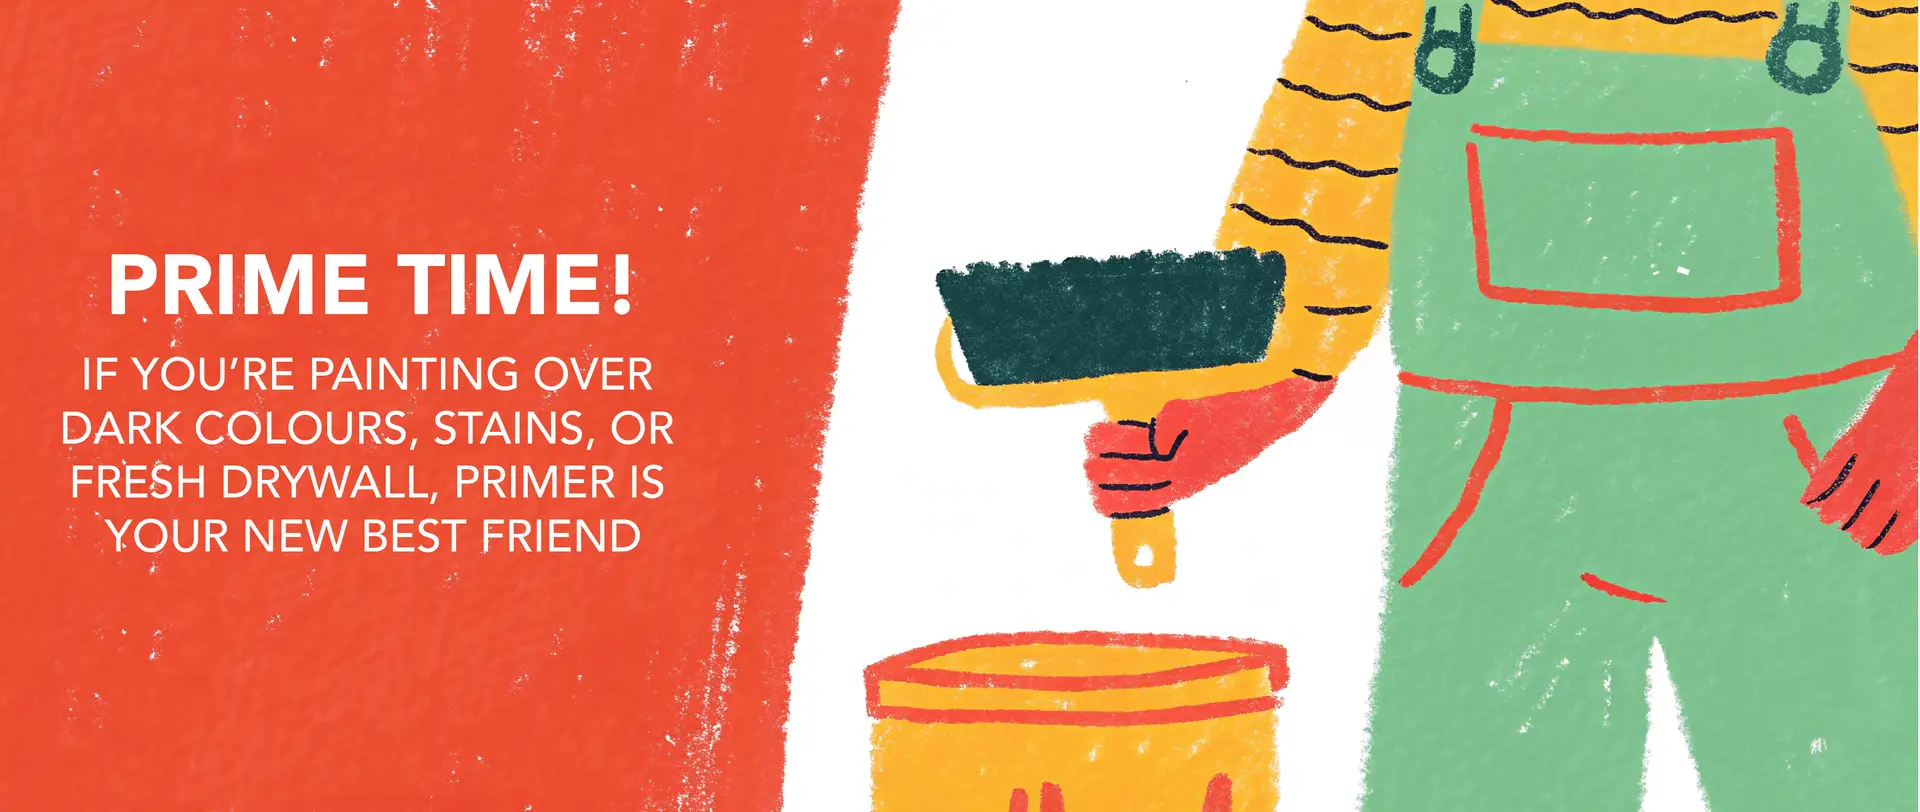
Step 4: Prime Time!
If you’re painting over dark colours, stains, or fresh drywall, primer is your new best friend. It creates a smooth base, improves paint adhesion, and enhances colour vibrancy.
If you’re transitioning from a darker to a lighter shade, don’t skip this step! A good primer will prevent the old colour from peeking through and will save you from having to do multiple coats of paint.
Pro Tip:
If your new colour is similar to your current wall colour, you might get away with skipping primer. But if you’re going from dark to light (or vice versa), don’t skimp!
Step 5: Get Painting!
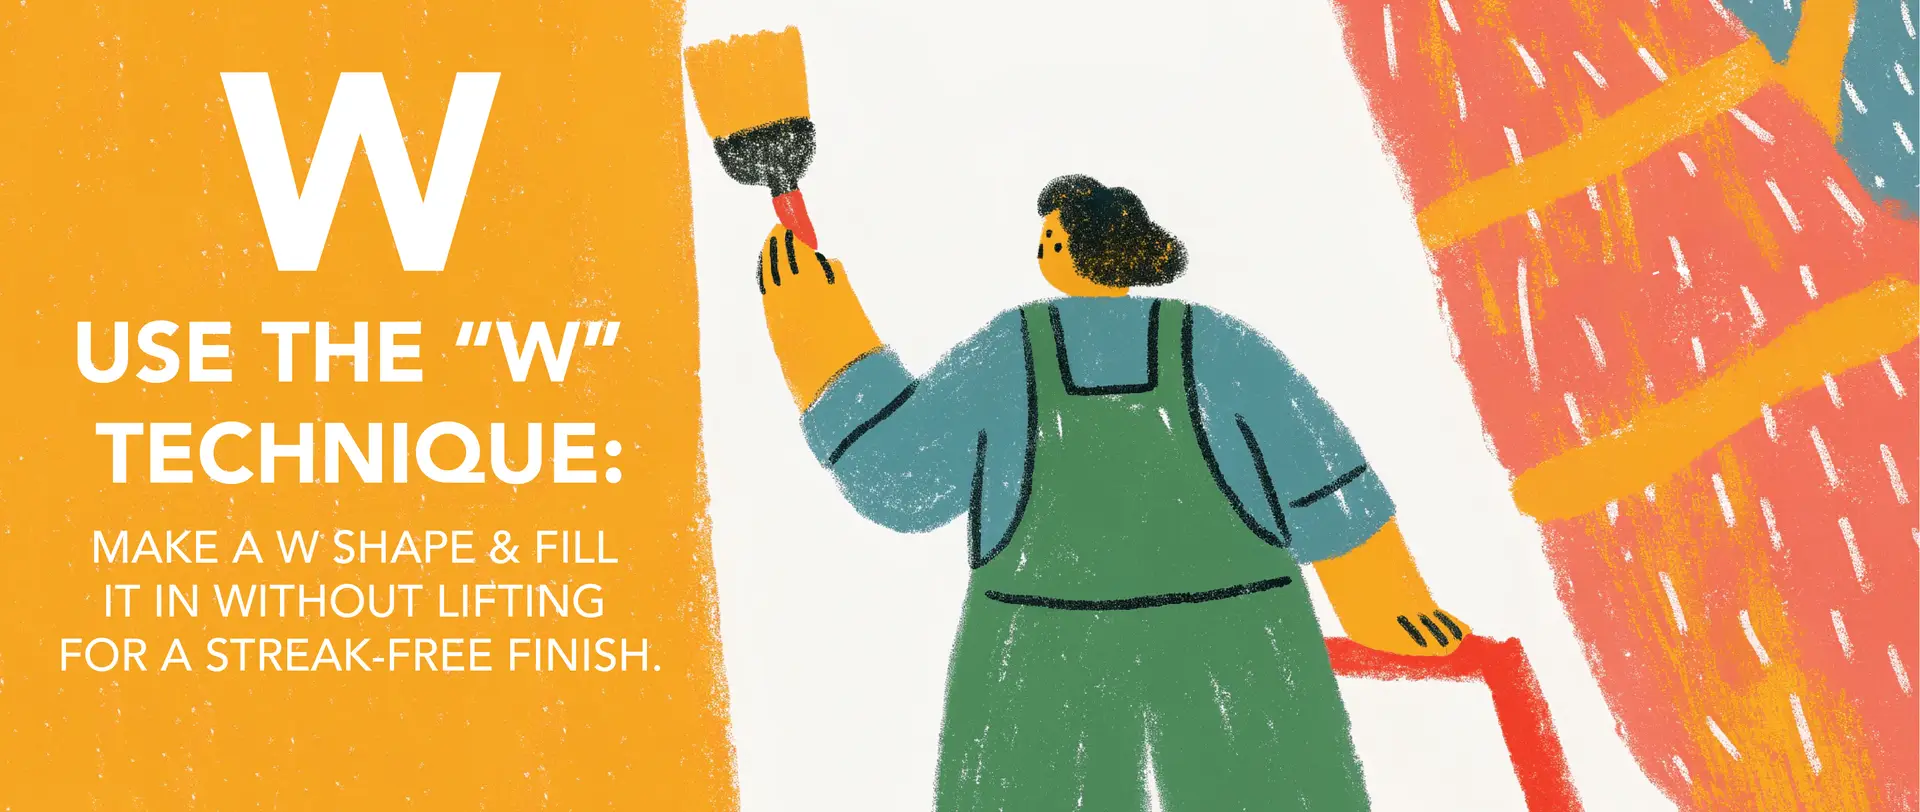
Finally, the fun part! Start with the edges and corners using a brush, then roll the bigger areas.
Let it dry completely between coats. One of the biggest mistakes DIY painters make? Not knowing the difference between drying time and curing time.
Patience is key! Rushing through layers can lead to uneven patches and a bumpy finish.
Step 6: The Big Reveal!
Once the paint is completely dry (resist the urge to touch it too soon!), remove the painter’s tape slowly to avoid peeling any fresh paint. Step back and admire your handiwork, you did that!
If you spot tiny mistakes, don’t panic. Grab a small brush and touch them up once everything has dried, try give it your steadiest hand, because they don’t always blend is as smoothly. And if you accidentally got paint on something you shouldn’t have? A damp cloth or a bit of rubbing alcohol usually does the trick.
DIY painting is one of the easiest (and most affordable) ways to refresh your space. With the right prep, quality tools, and a little patience, you’ll have walls that look like they were done by a pro. Plus, there’s nothing more satisfying than stepping back and admiring a job well done!
Need help choosing a colour? We’ve got all the inspo you need, because your walls deserve nothing but the best
Your first project just got better! Join the Kleur family and enjoy 10% off your first purchase.